Get Lost Mountaineering
You are here: England » Lancashire » Trough of Bowland
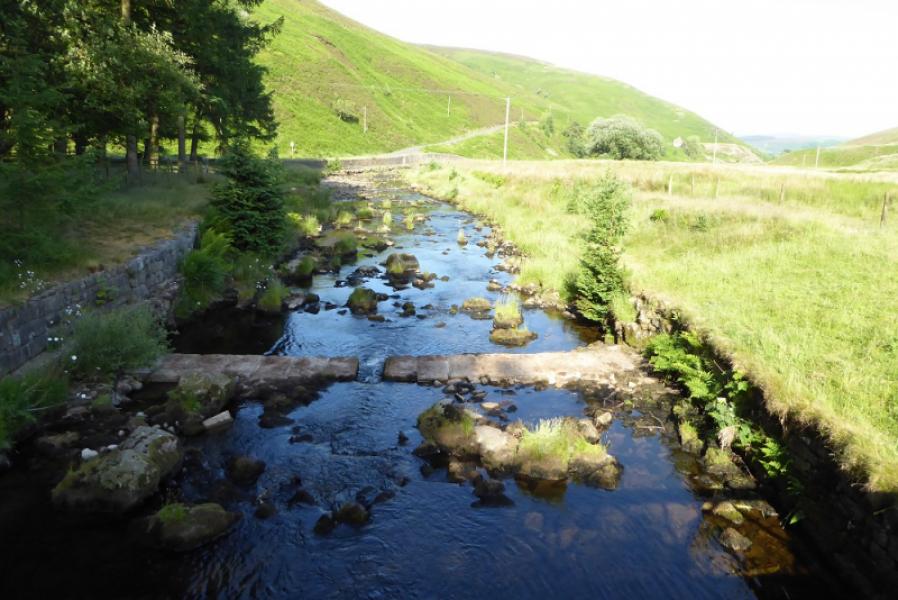
Totridge, Fair Snape Fell & Langden Brook from Hareden
Totridge, Fair Snape Fell & Langden Brook from Hareden
Start/Finish
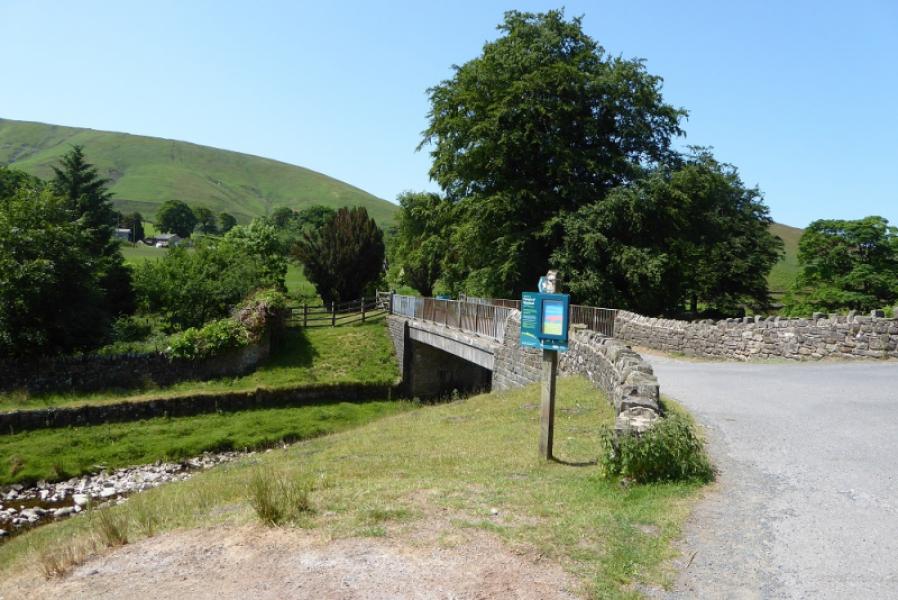
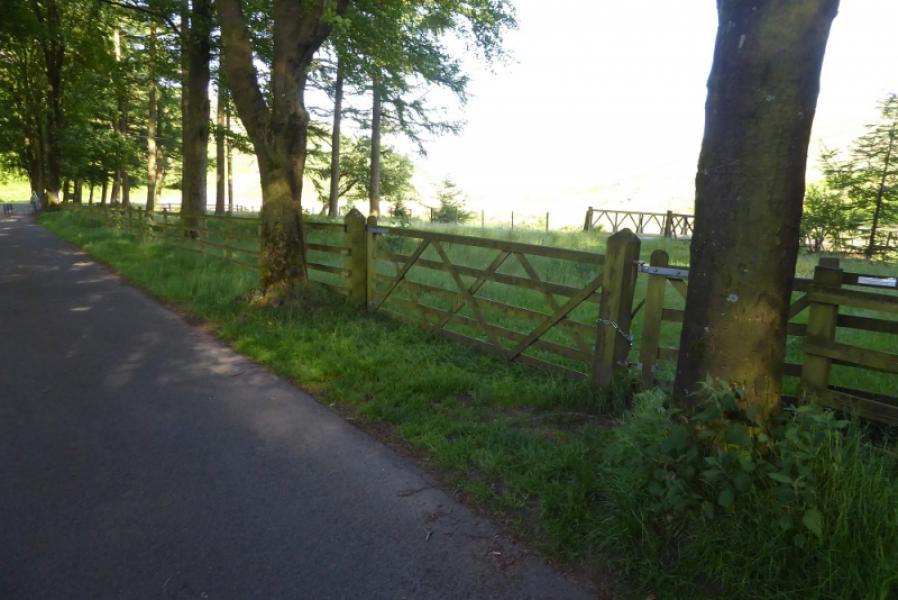
Small verge parking area by entrance to Hareden about 1 mile north west of Dunsop Bridge on the fell road to Lancaster. There is more parking about 400 m nearer to Dunsop Bridge. Puddleducks cafe in Dunsop Bridge has a post code of BB7 3BB for those using Sat Nav.
Distance/Time
17 km. About 5 – 6 hours.
Peaks
Totridge, 496 m, SD 634 487.
Fair Snape Fell (trig point), 510 m, SD 591 468.
Fair Snape Fell (summit), 520 m, SD 597 473.
OS 102: Preston & Blackpool. OL 41: Forest of Bowland.
Introduction
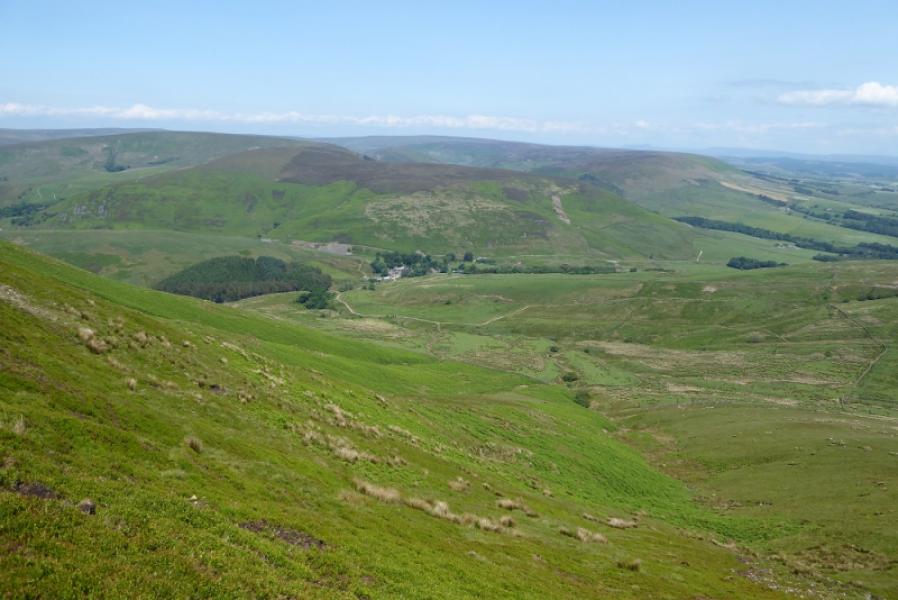
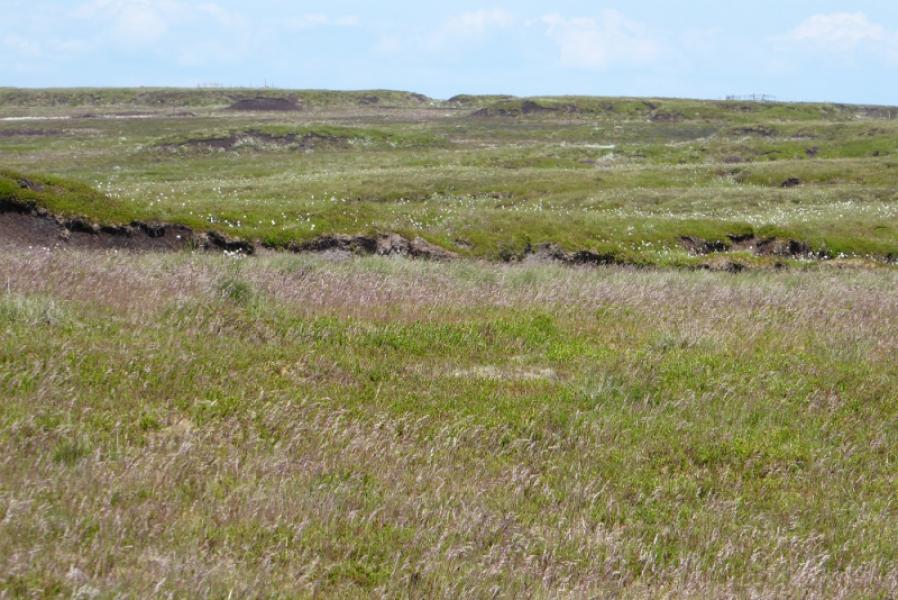
Firstly, there is a lovely little book on this area which also includes part of the South Pennines. This is a book well worth buying. It came out in 1990 so there may be a more up to date version now available. It is called Bowland & the South Pennines by John Gilliam, published by Grey Stone Books (Hoddlesden), ISBN 0-9515996-0-7. This is a pleasant walk on a summer's day after a dry spell when the peaty ground is dry. When the ground is wet, the going can be very boggy and even swamp like! The ascent of Totridge is moderately steep. The descent down the Langden Brook valley is very stony and heathery high up but there is a reasoanable path. In clear weather, surrounding hills, including Pendle Hill can be seen as well as the Lancashire Coast including Blackpool.
Route
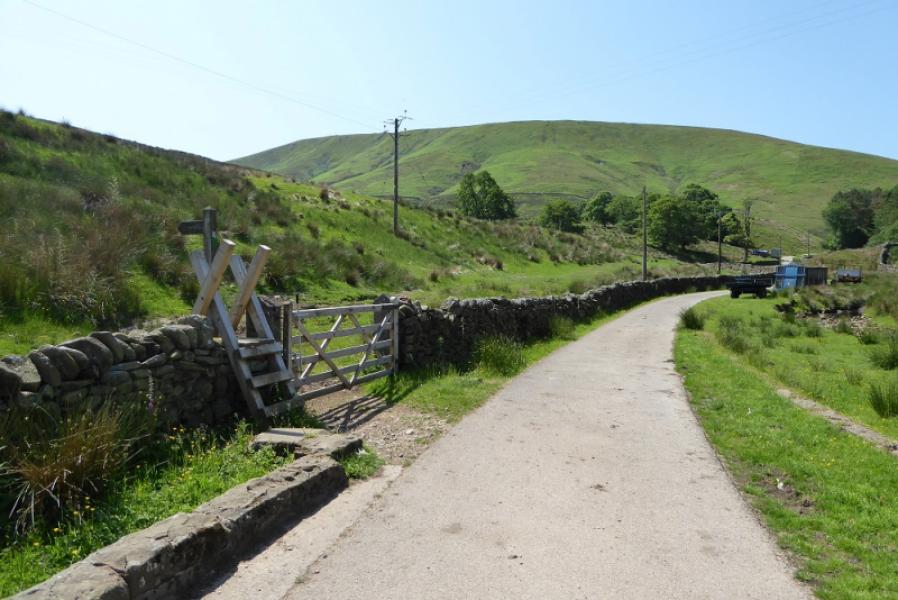
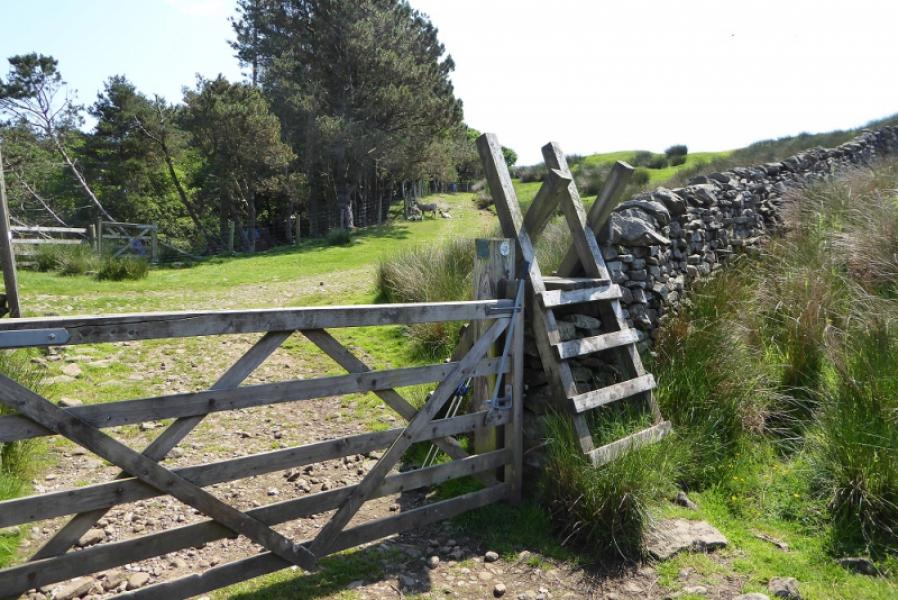
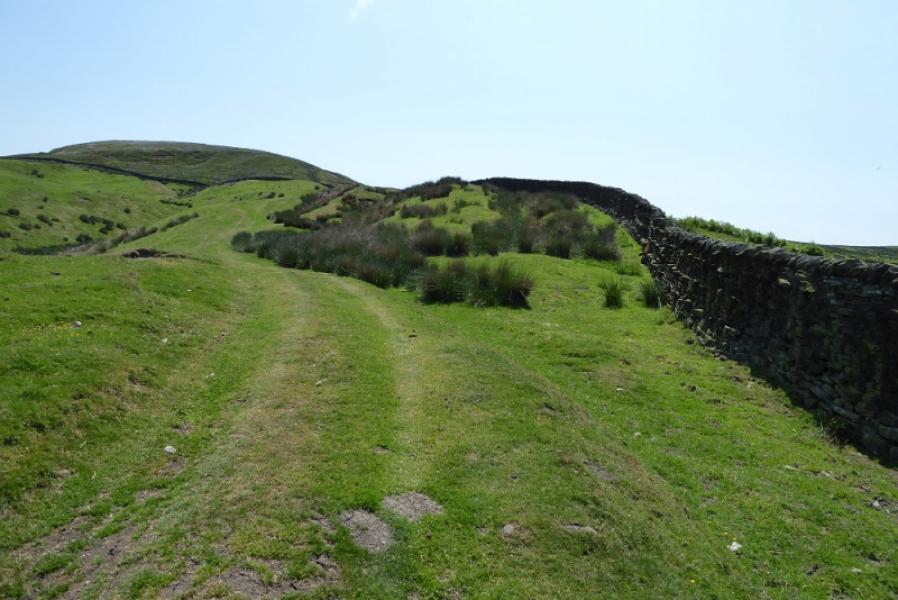
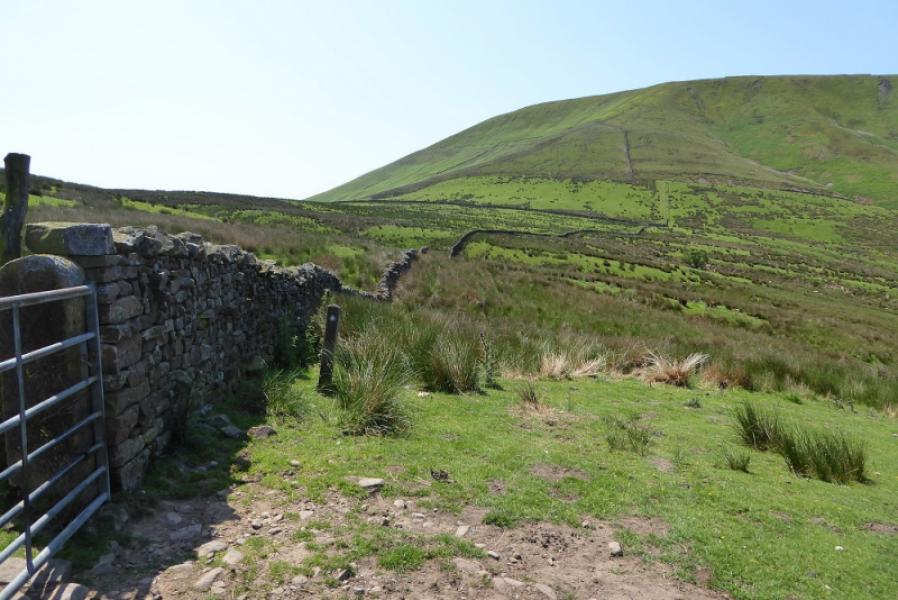
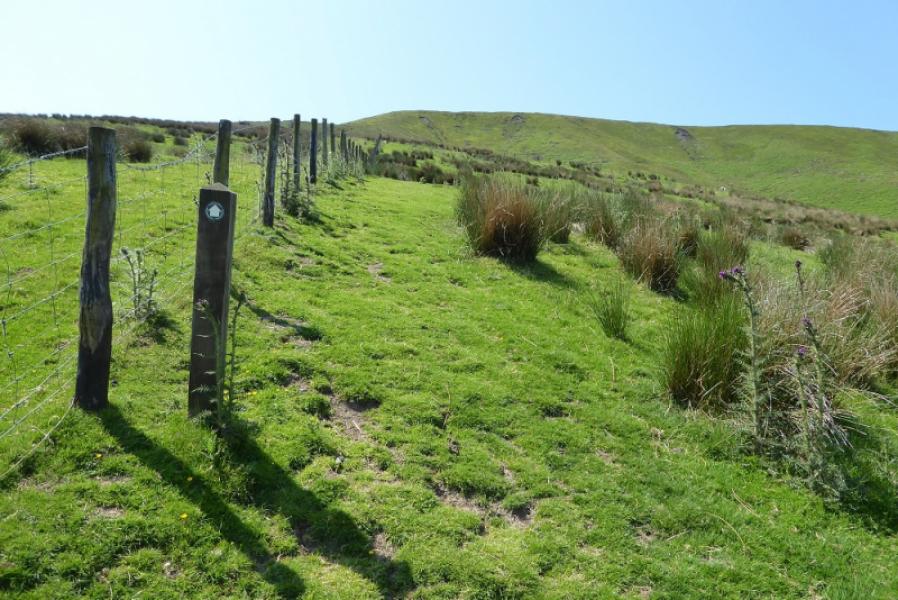
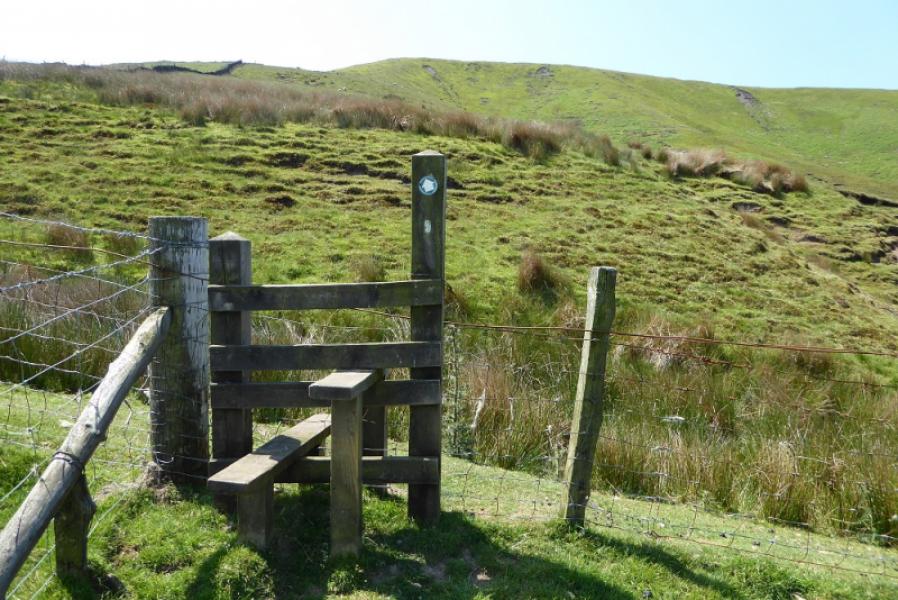
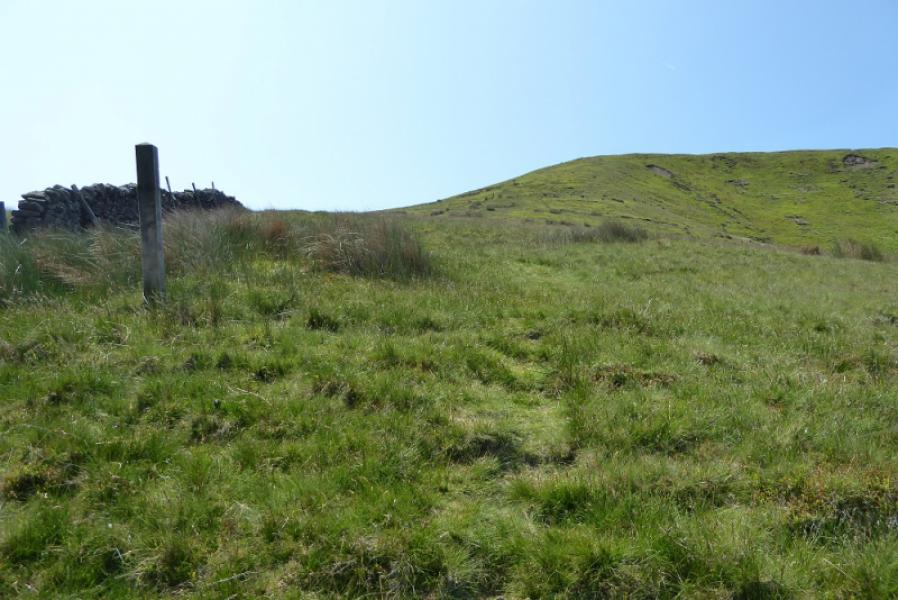
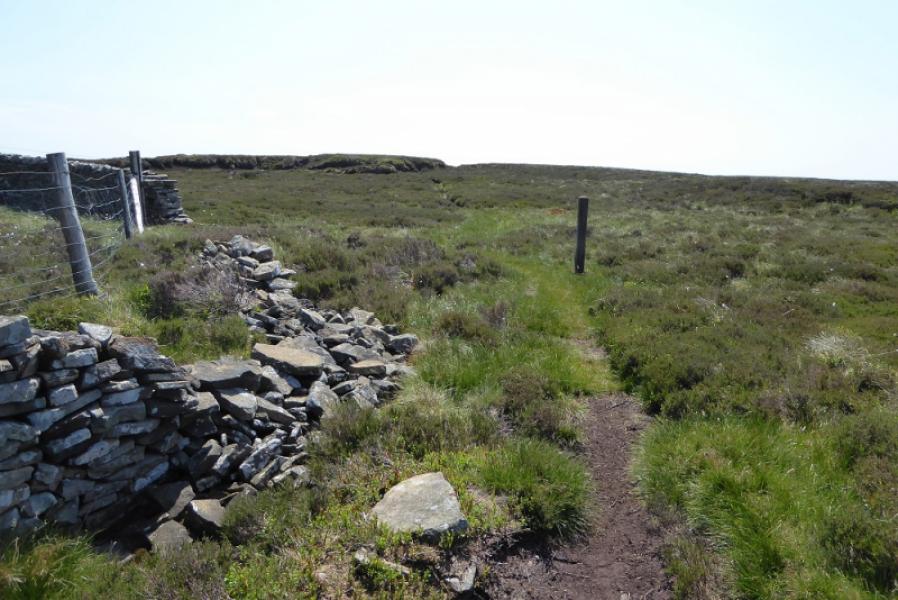
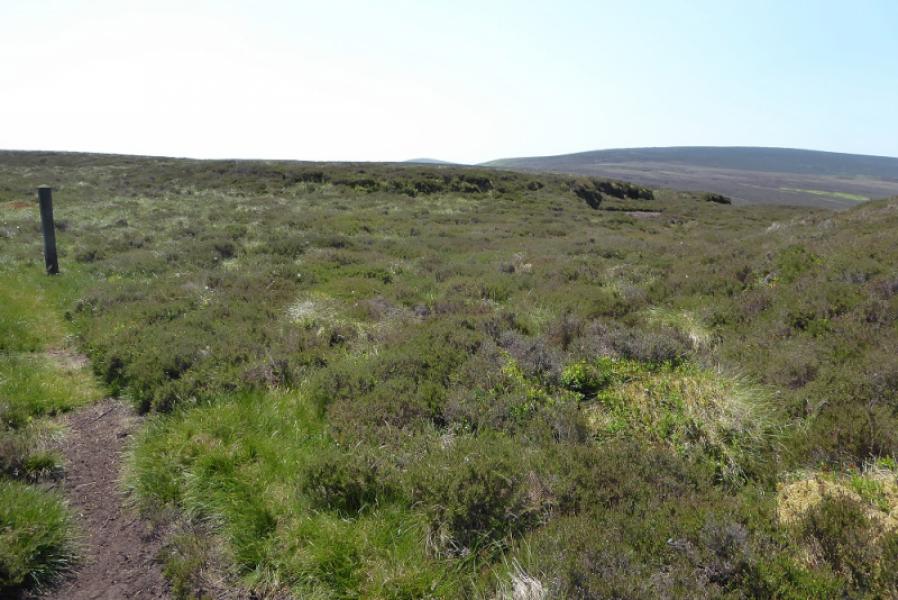
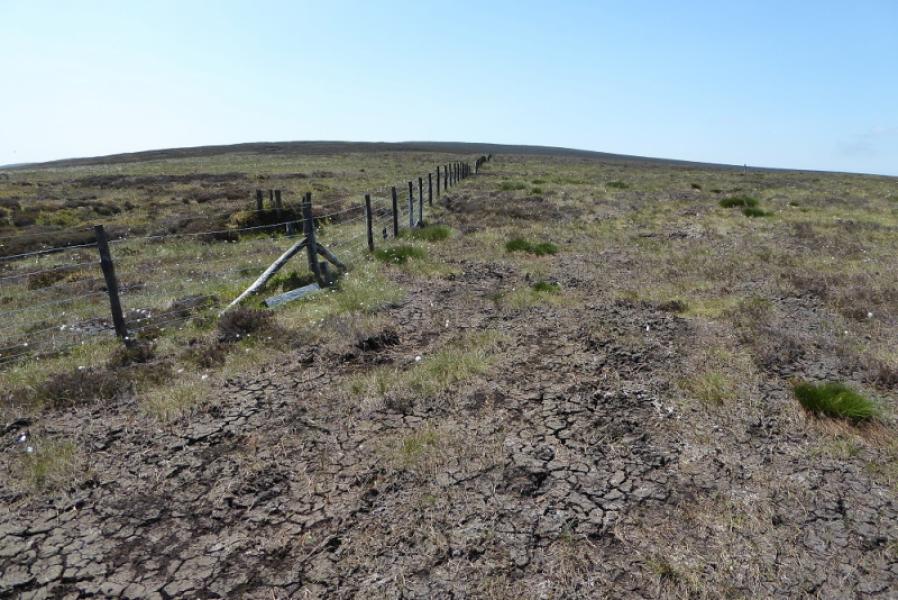
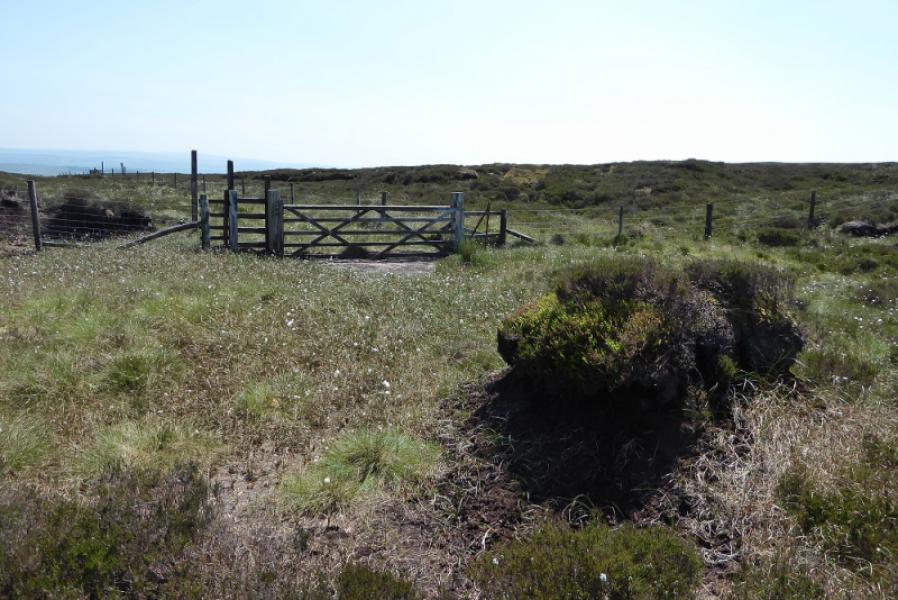
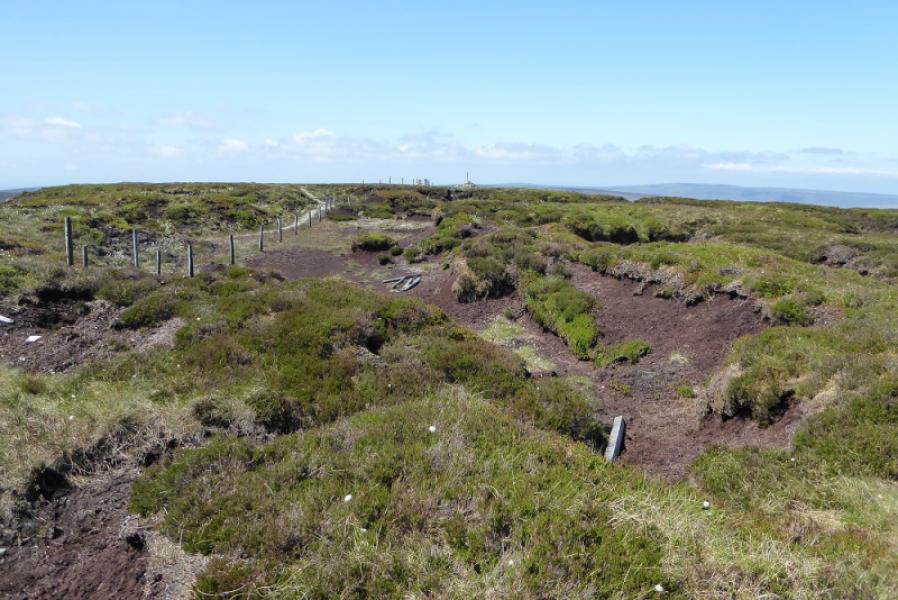
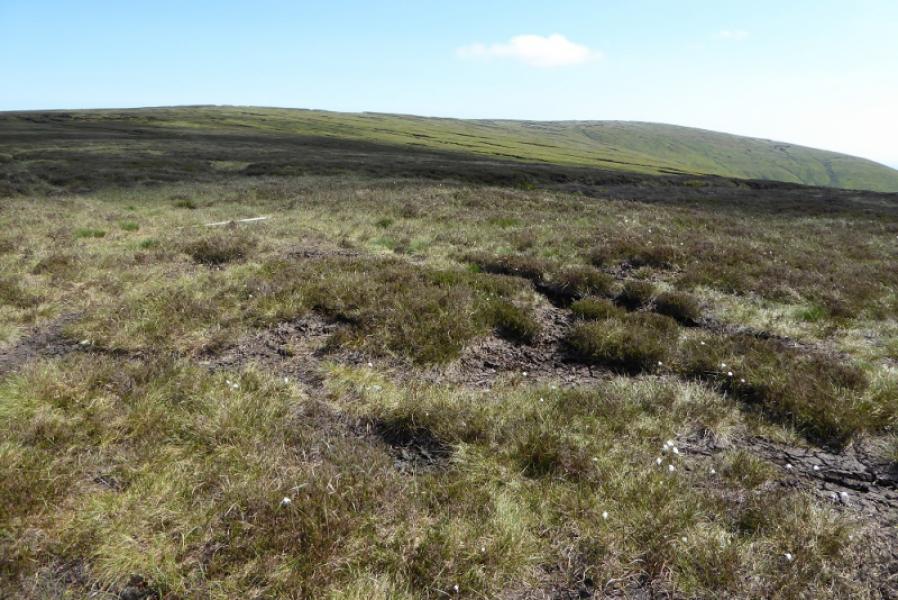
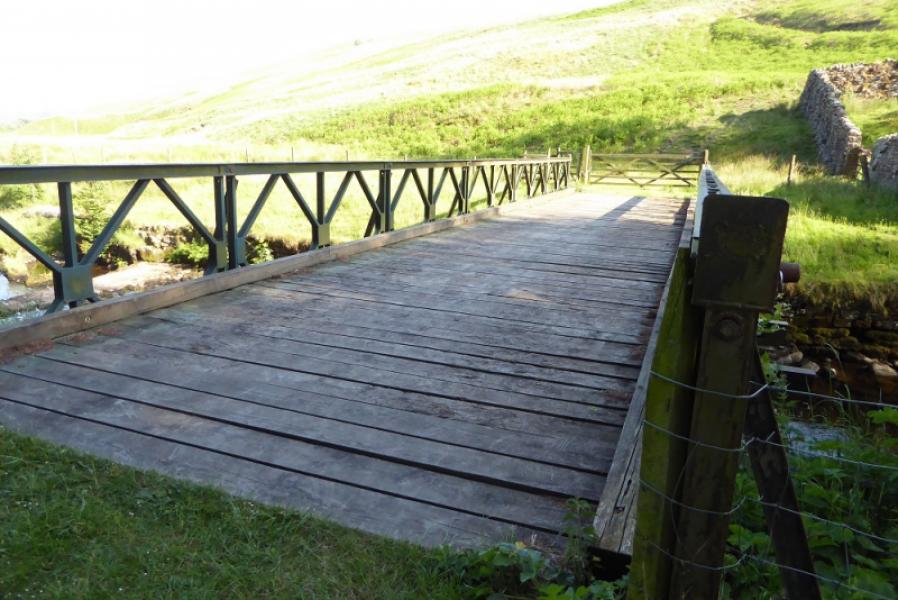
(1) Walk up the track to Hareden with Totridge very obvious in clear weather. Just before the farm, cross the bridge and walk through the farm to reach the track on the other side. Soon after, cross the stile on the left and follow the path uphill, drifting left, and following a wall on the left. Reach another stile with a track on the other side. Follow this track up. It soon becomes very faint so drift right to follow the wall just crossed. Higher up and about 200 m before a wall ahead, a path forks right to a gate. Go through this and follow the wall towards the NE ridge of Totridge. In places, the going can be rough and boggy but not for long. Reach the foot of the NE ridge, with the occasional marker post, and start climbing. There is a direct path but an easier one zig zags up to reach the crest which is mainly grassy peat mounds. Stay with the path which soon levels out and leads to the trig point on a peaty mound which is the summit of Totridge, 496 m.
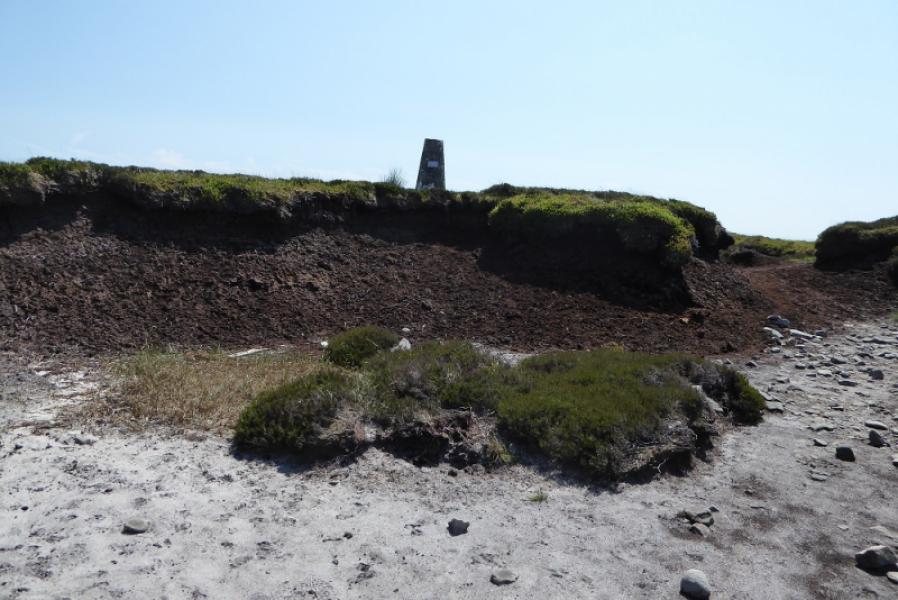
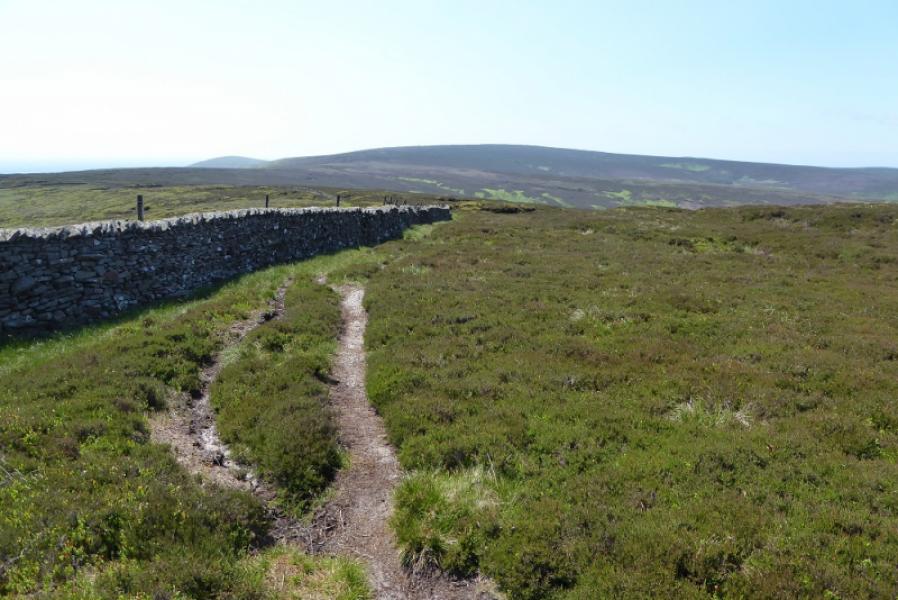
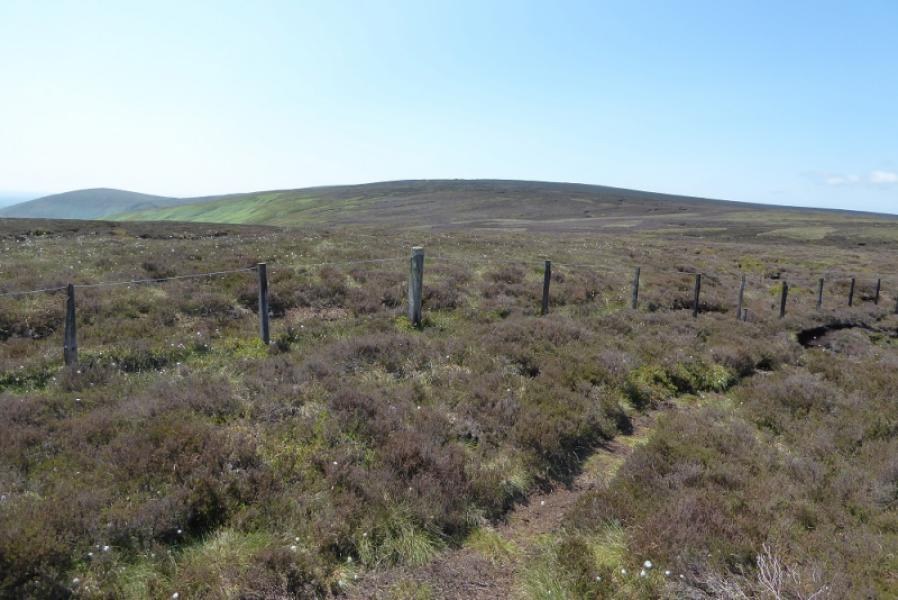
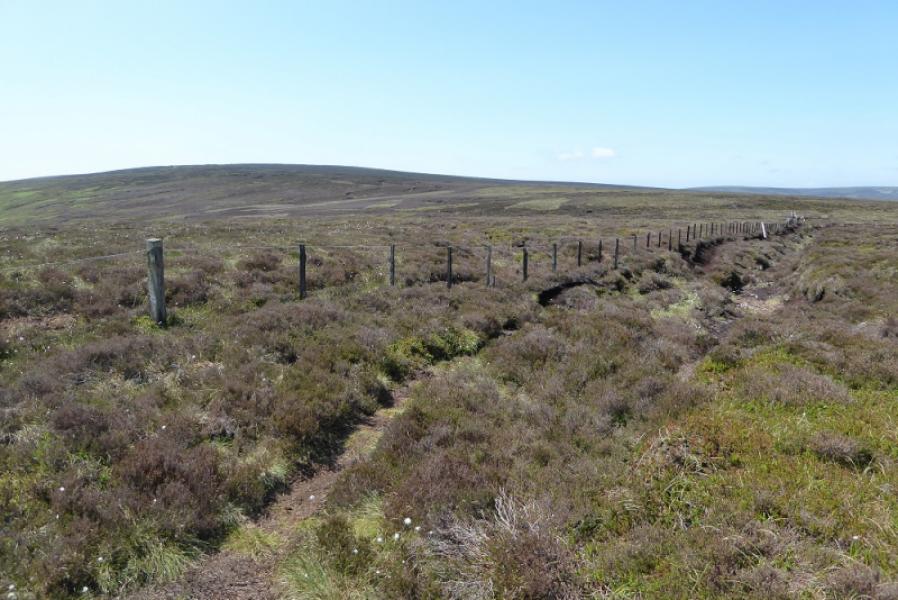
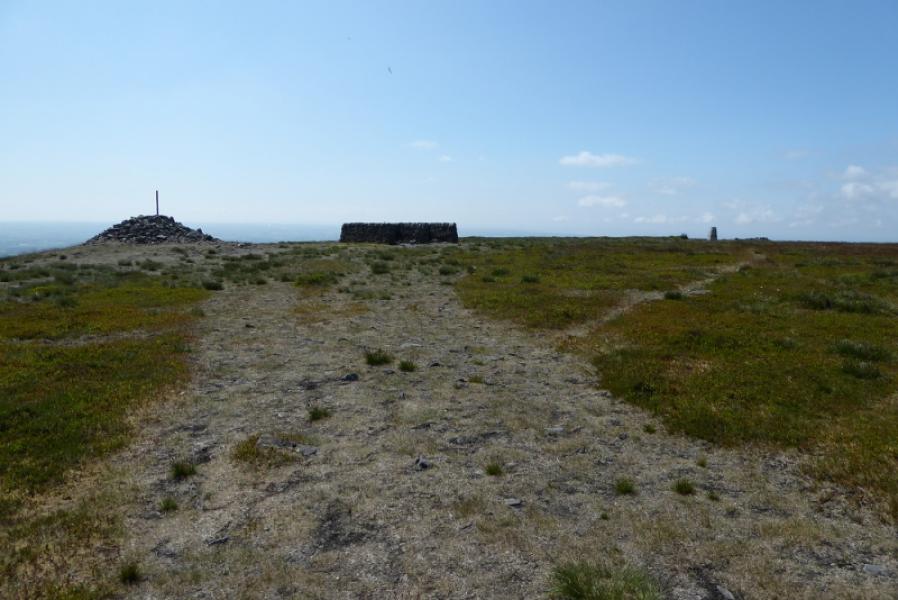
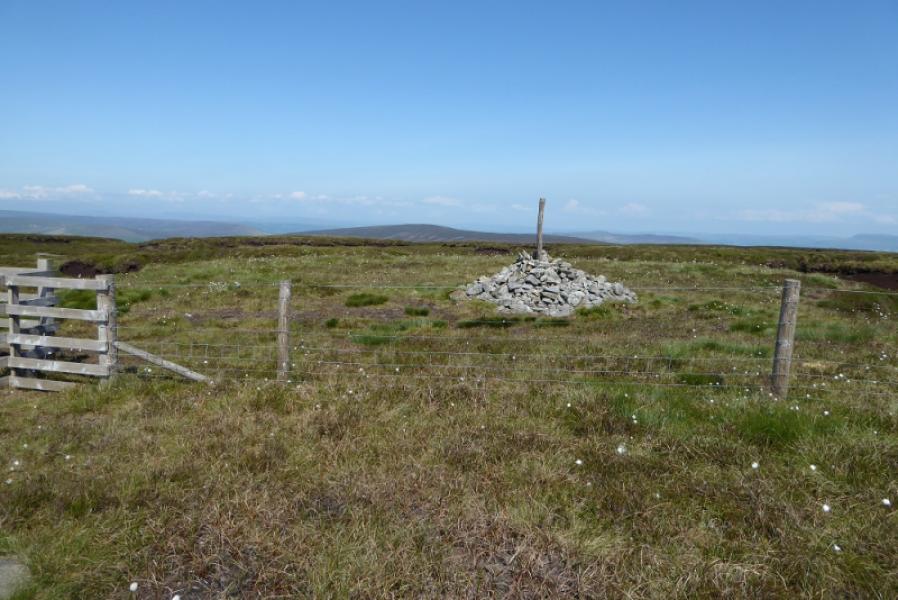
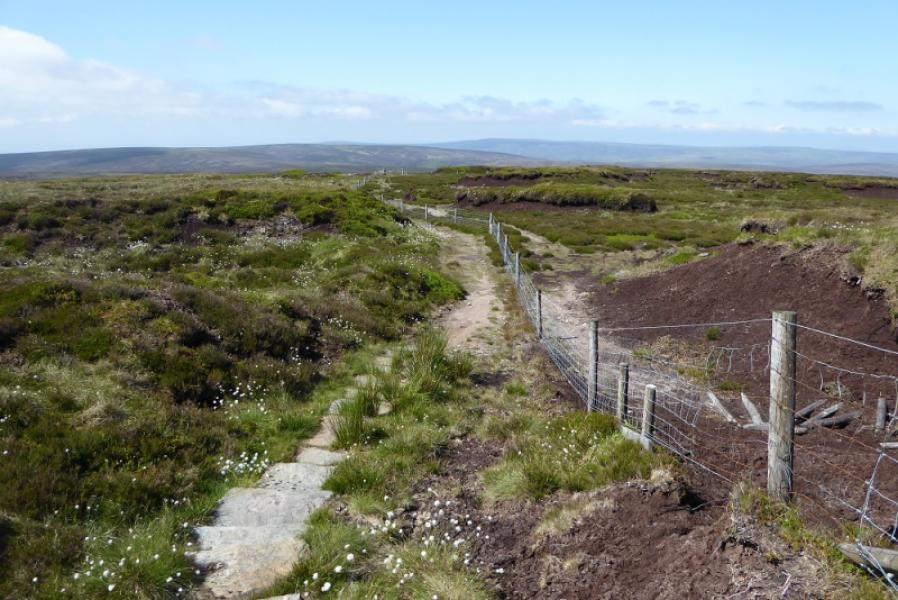
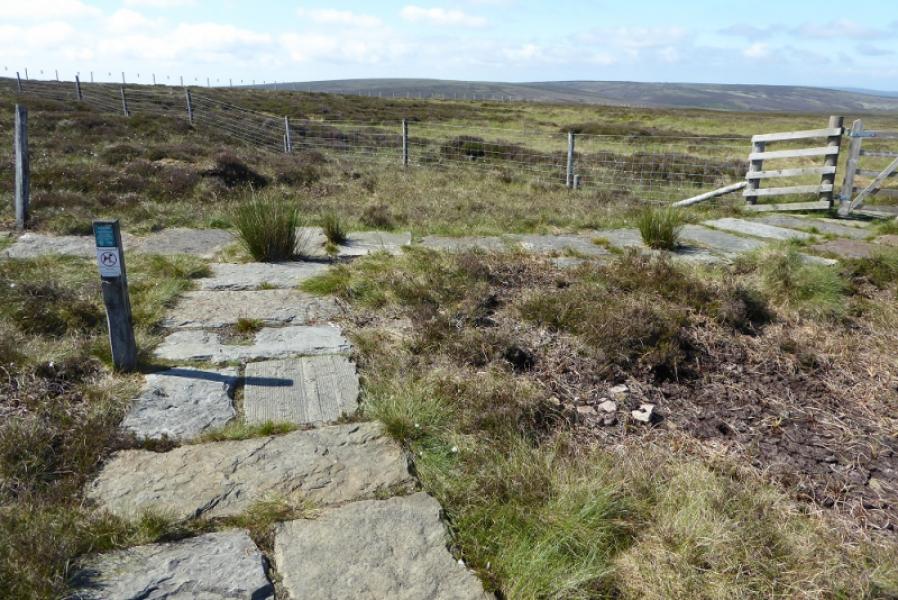
(2) Continue along the crest, still on the path to reach a wall which is followed roughly SW. In clear weather, Fair Snape Fell is visible ahead with the more distinctive Parlick to its left. When the wall goes left at a broken corner, the path continues ahead and soon meets a fence which continues towards Fair Snape Fell. Further on, another fence is met, so go right and follow this, still with the same path, towards Fair Snape Fell. There are lots of stiles on this fence should you wish to cross over but there is no real need if the ground is dry. Eventually, the fence along the crest of Fair Snape Fell is reached. In clear weather, the summit cairn will be seen about 200 m to the N. Cross the fence which has no stile here! Pick up the slabbed path which is close by and follow it roughly SW. It soon becomes an ordinary path, boggy in wet weather, and leads to the large cairn, shelter and trig point which is the summit of Fair Snape Fell (trig point), 510 m.
(3) Retrace back to the slabbed path and soon reach the summit cairn , across the fence, which is Fair Snape Fell (summit), 520 m.
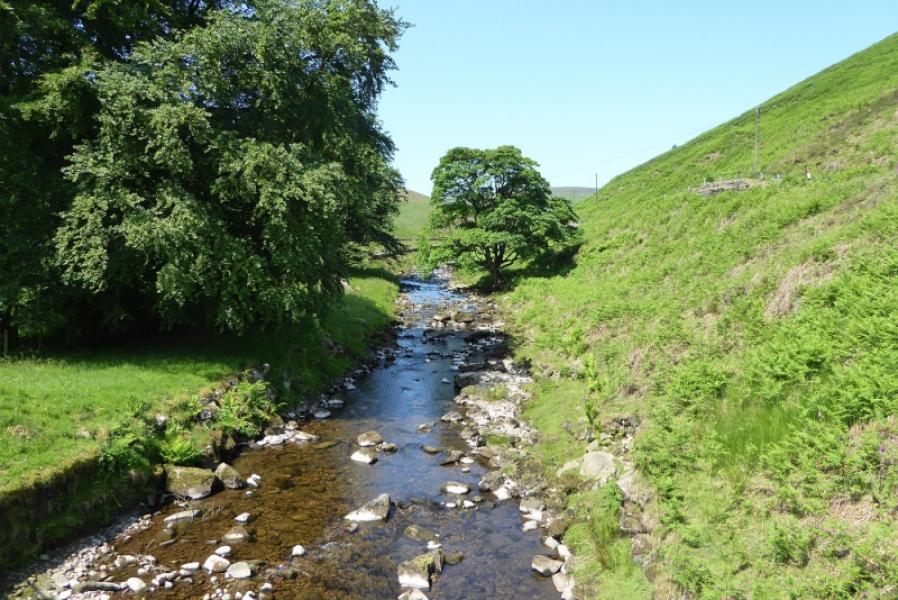
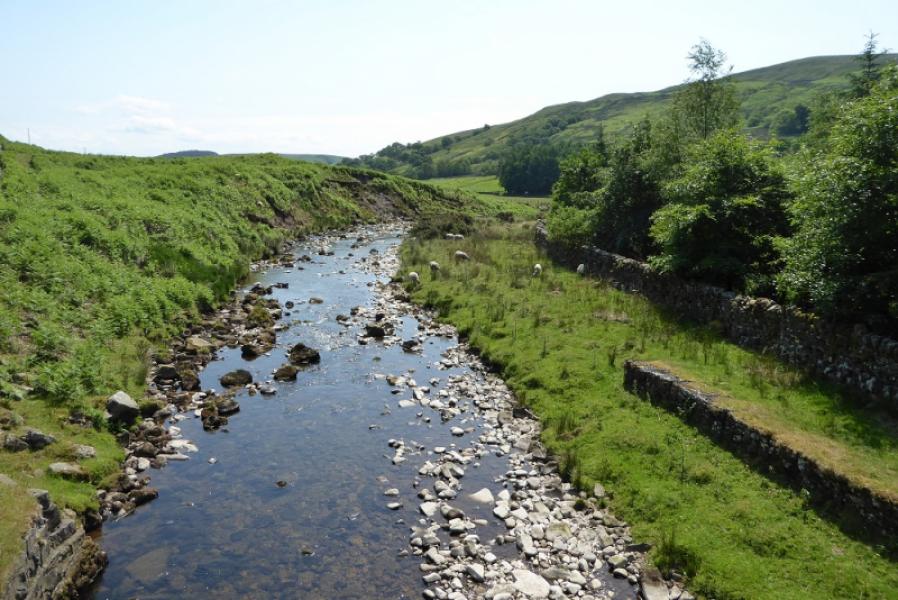
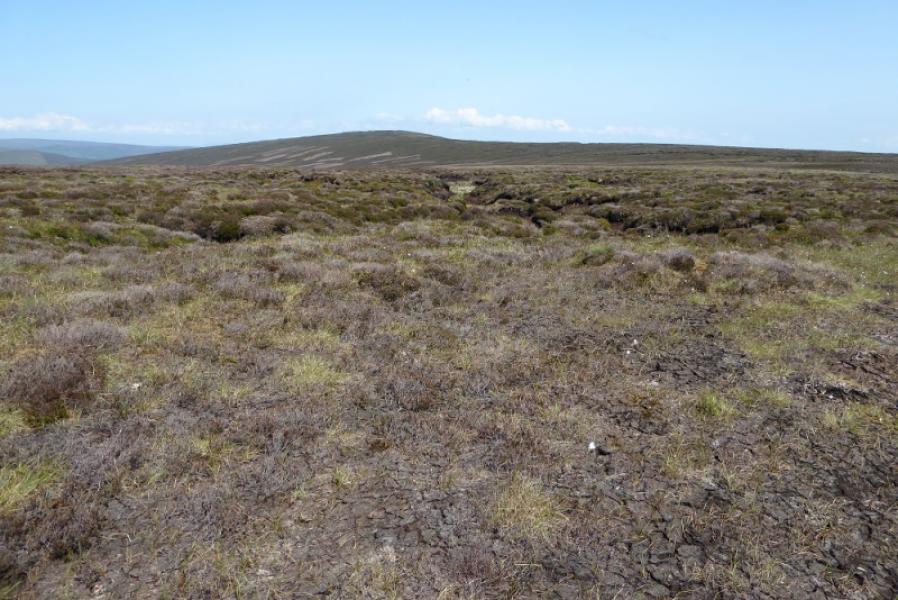
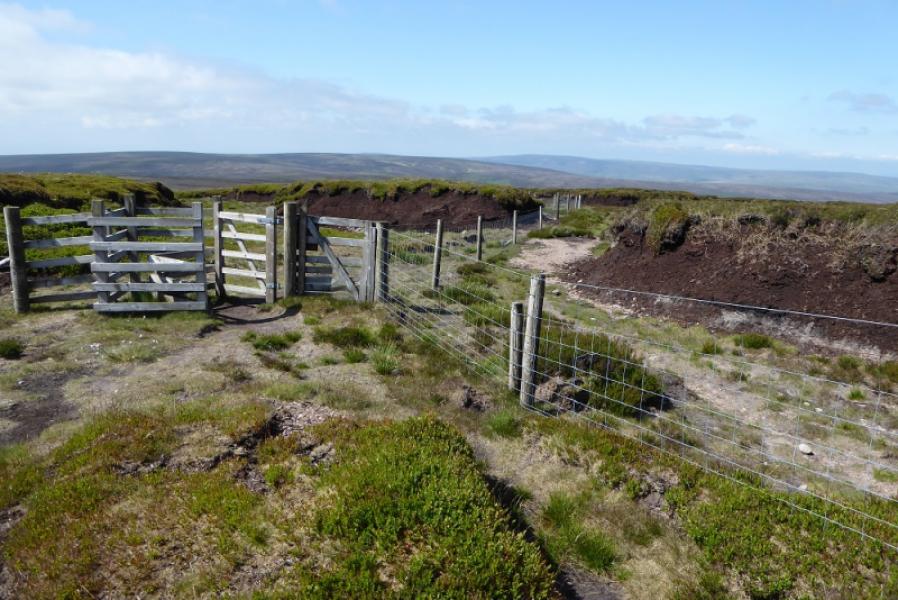
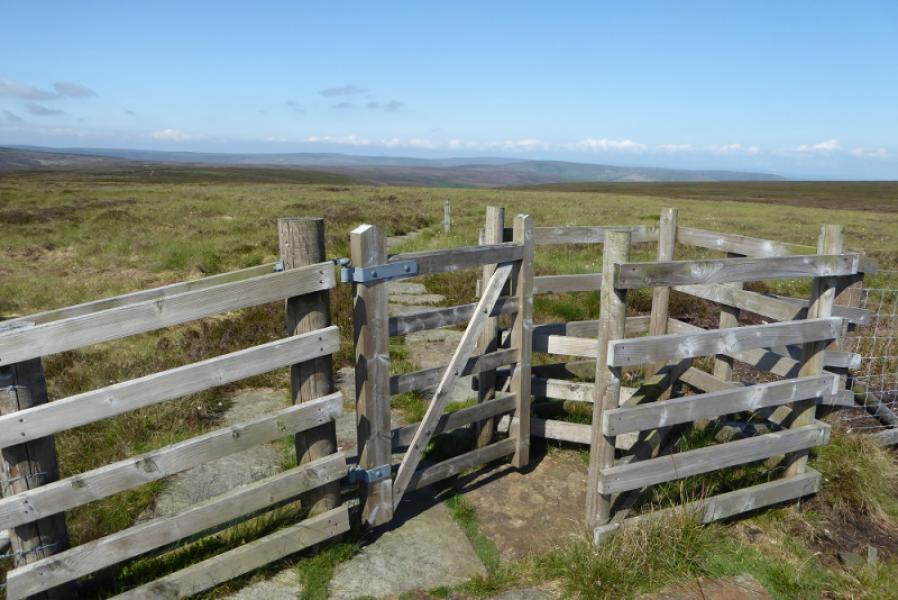
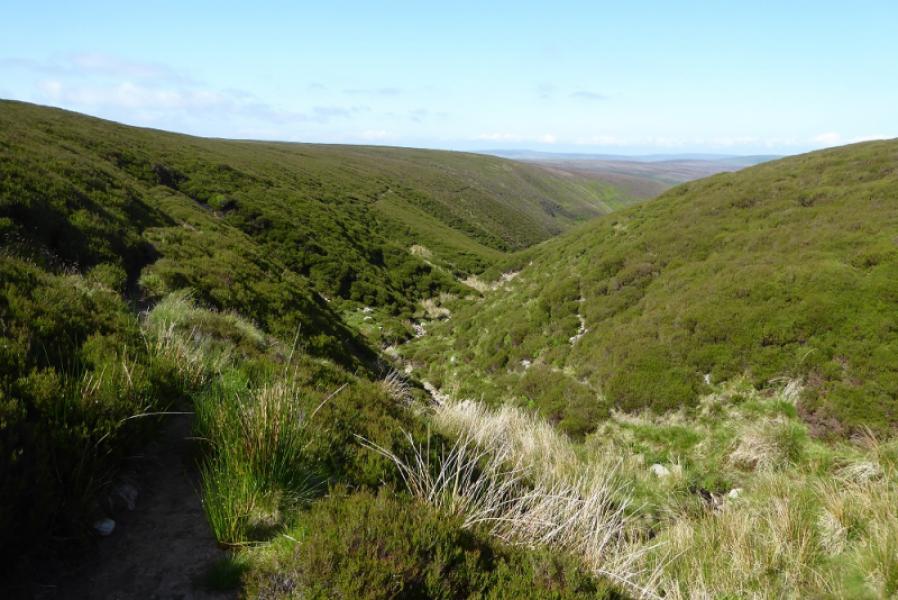
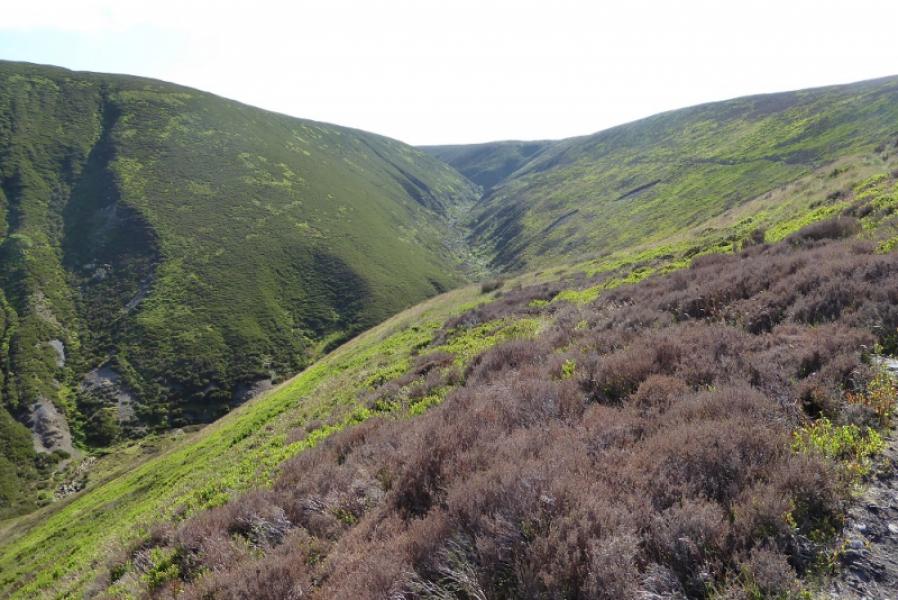
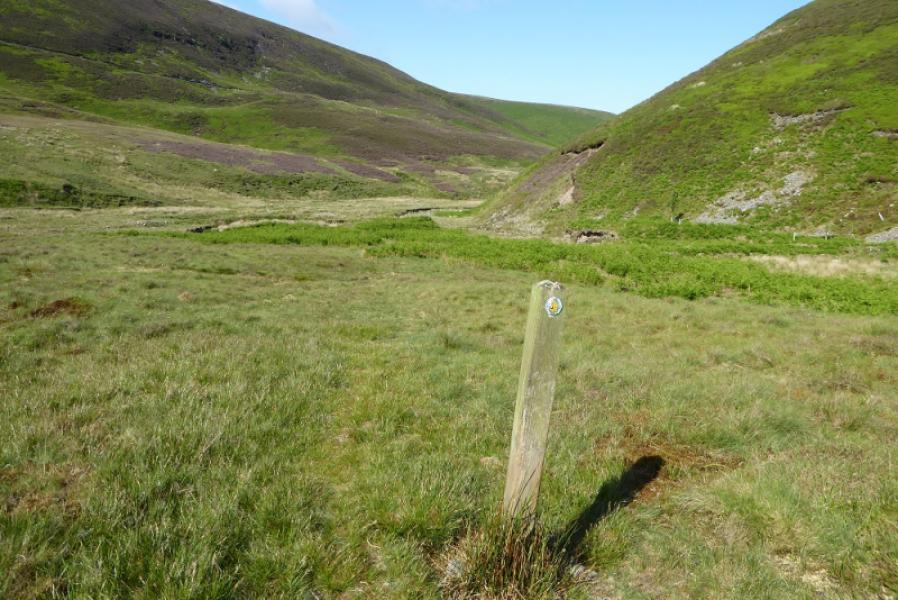
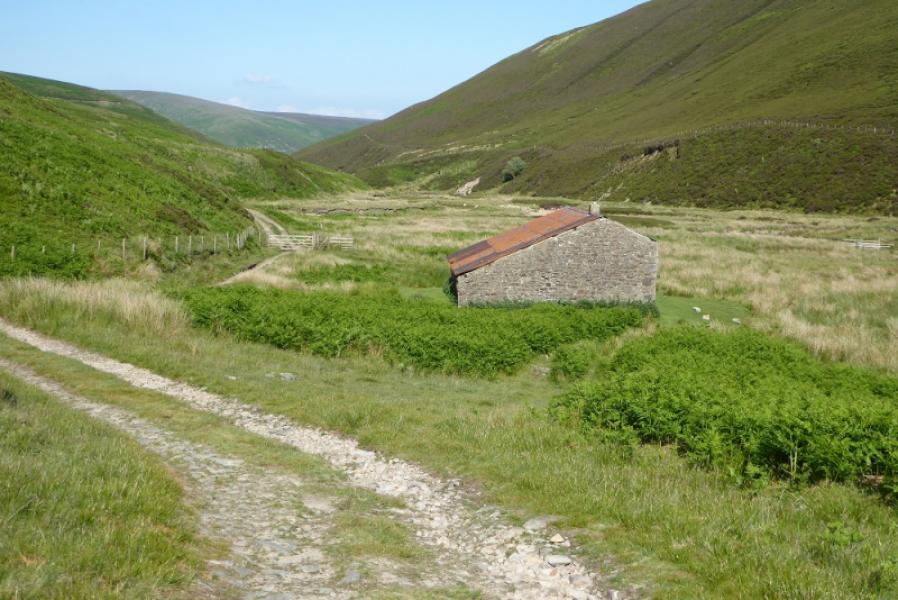
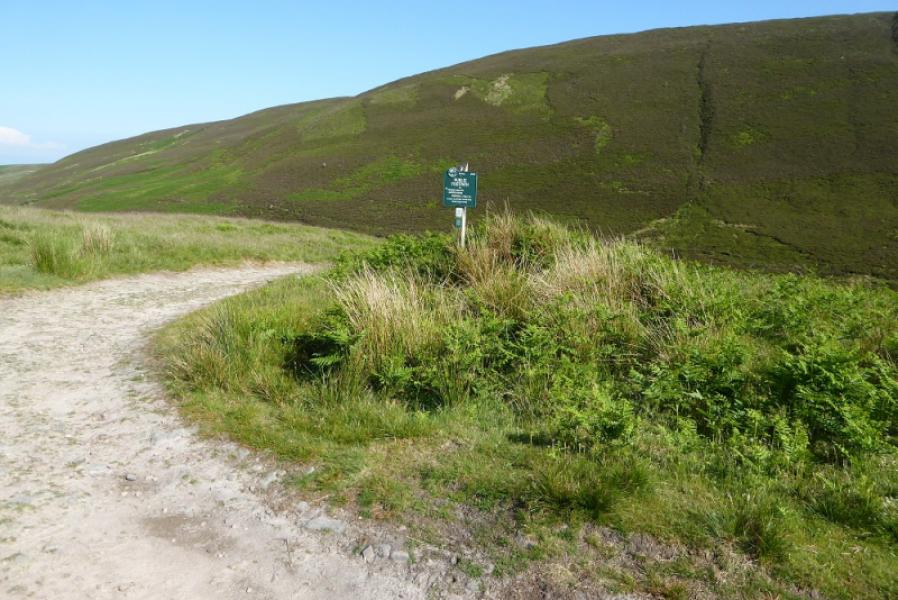
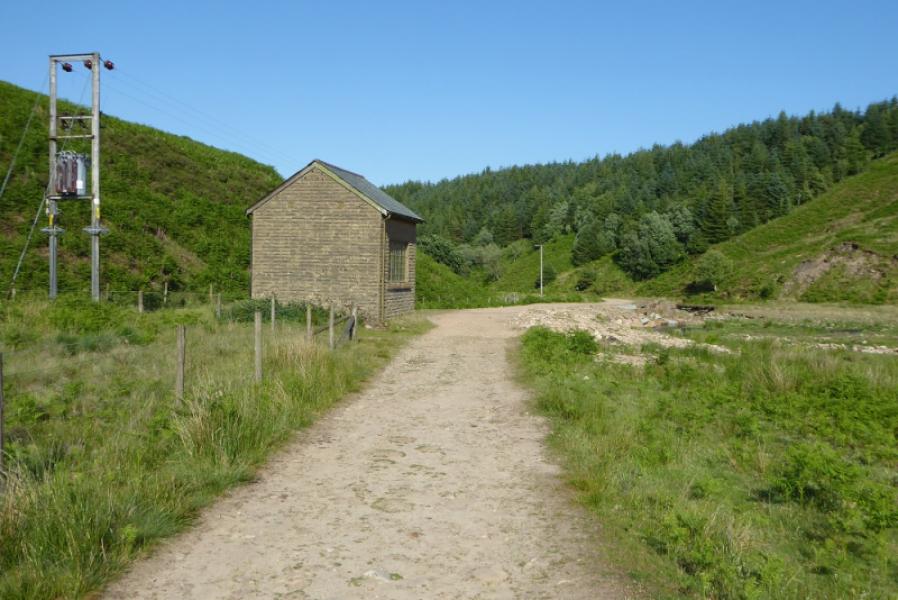
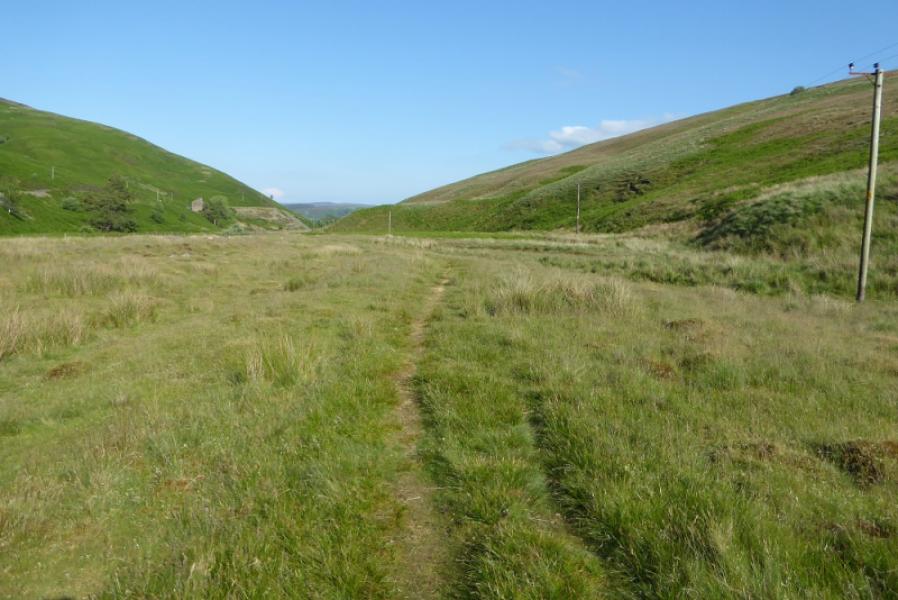
(4) Continue, roughly NNW, following the same fence. There is a path on either side. Lower down, another fence goes left so cross this (gate) and continue NNW towards the shallow col. It is best to be on the left, W, side of the fence here as it soon becomes slabbed. After a slight ascent, the slabbed path splits. Go right, through a gate, and follow the slabbed path, roughly NE, until it soon becomes an ordinary path. The start of this is not too obvious but make sure you find it as it goes through deep heather. Follow the path down. It is a good path but often hidden under the heather. Eventually reach a level section where another stream joins from a valley on the left. Cross over the stream which may be awkward in wet weather. The continuation of the path is not obvious but it makes a slanting ascent up the left bank. Once located, it is easy to follow but rough in places. Eventually it joins a track which continues down the N side of the brook but well above it. The track climbs in places after a locked up cottage is passed before descending back to the brook at a junction where there is a sign and a memorial stone. Continue down the track which is now fairly level. Pass a water works building then continue down to pass a house where the track becomes a tarmac road. Follow this towards the main road but leave it about 100 m before a hump back bridge and cross the bridge over the brook. Immediately, turn left and follow a path, faint and boggy at first, which shadows the brook back to Hareden.
Notes
(a) This walk took place on 11th June, 2018.
Photos - Hover over photo for caption. Click on to enlarge. Click on again to reduce.